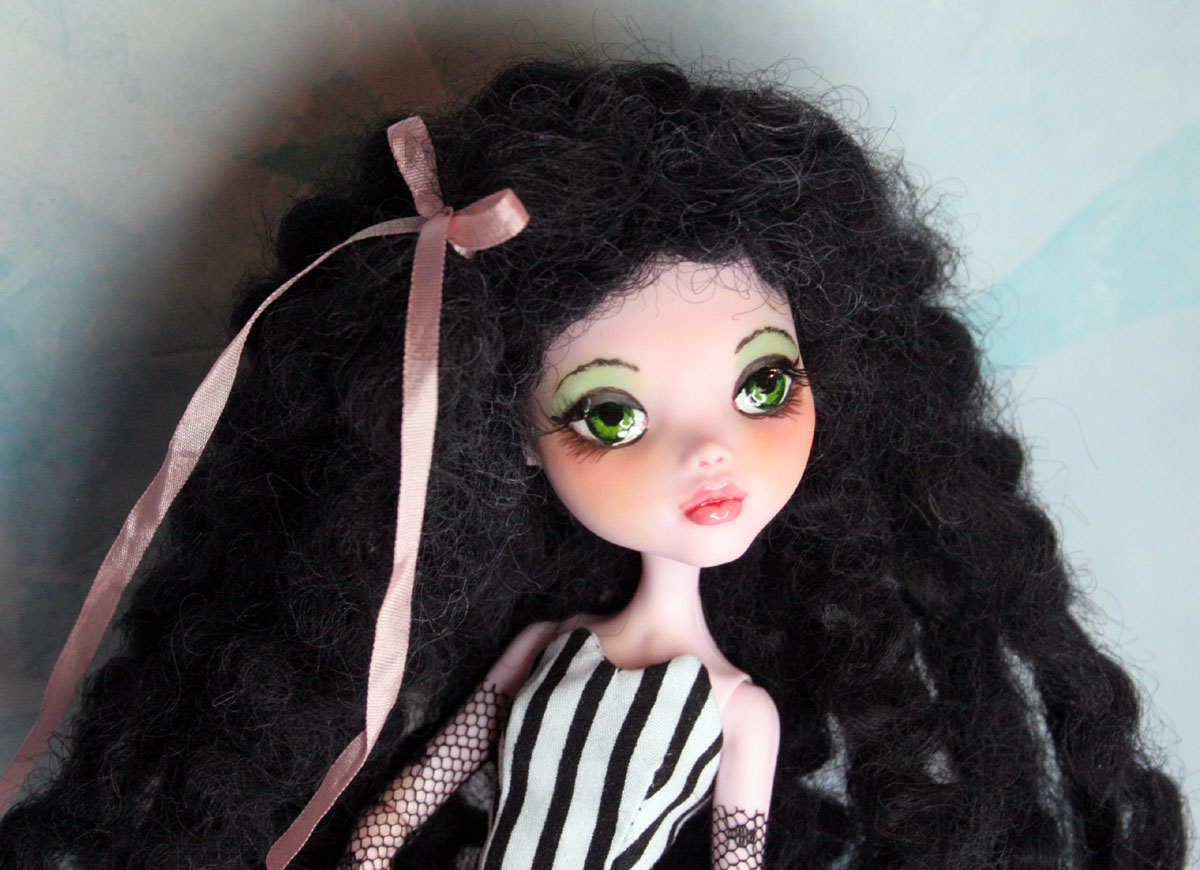
Draken's Tail & Body
Tail is finished, time for a fitting. I decide where I want the tail to be, and make a mark with pencil on her back.
Now I need to make a hole for the tail wire. The wire is for stability and to add resistance that is not dependent on the magic sculpt. I am using a stencil cutter with a fine tip. It gets hot enough to make a hole while not damaging the rest of the plastic. How many crafts have I tried over the years? Lots. This stencil cutter is no good at all for cutting stencils- but- I have used it to repair dolls and on many other projects.
Hole is made.
I test it with the wire. The wire is a little too long so I clip it shorter with wire cutters.
I've mixed my magic sculpt and divided into to balls.
One is flattened over the hole.
I stick the tail wire in, find the hole and push. Then I start shaping the clay over the tail end. I smooth it with water and my fingers. I add to it with the other clay I have mixed and waiting.
Now she sits for 4 hours to harden.
The magic sculpt has hardened. The fabric didn't reach all the way after I started sewing. I could simply attach another piece of fabric, but I kind of like the way this looks, so I am going to go with it for now and see if I can keep the feel of the exposed poly batting. We shall see.
Beginning painting of the tail. I am using the violet first. Green, blue and then violet and black will follow.
I am also beginning the sponge painting of her body.
When you use a cosmetic sponge to paint your doll, remember to not use too much paint. It needs to go on in thin layers. I cut my sponges too- make some with smaller surface areas to fit inside curves and such. Draken will have 2 coats of violet and then a coat of spray sealer before her serious painting begins. I am using the same method on her head.
This is a short post, but there will be a follow up post as soon as I can manage.
Meet Duvet
The latest addition to our little family of critters.