Thursday, October 23, 2014

Gothic Style

Shelf Units You Can Make 
for Your 1:6 Dolls

One of 3 shelf units made for the Halloween Haunt Shoppe

This is what you will need:
1. Empty Food Boxes
2. Scissors                 
3. Glue                      
4. Marking Pen         
5. Ruler                      

                 
Cut the ends off of the box.

Using a ruler or straight edge mark even lines across the box.


Cut the box on the lines.  
If you want all of the shelves to be even, cut only even slices. 
On this box  I chose to leave the bottom one wider than the others.


Turn your pieces as shown and glue one to the other.


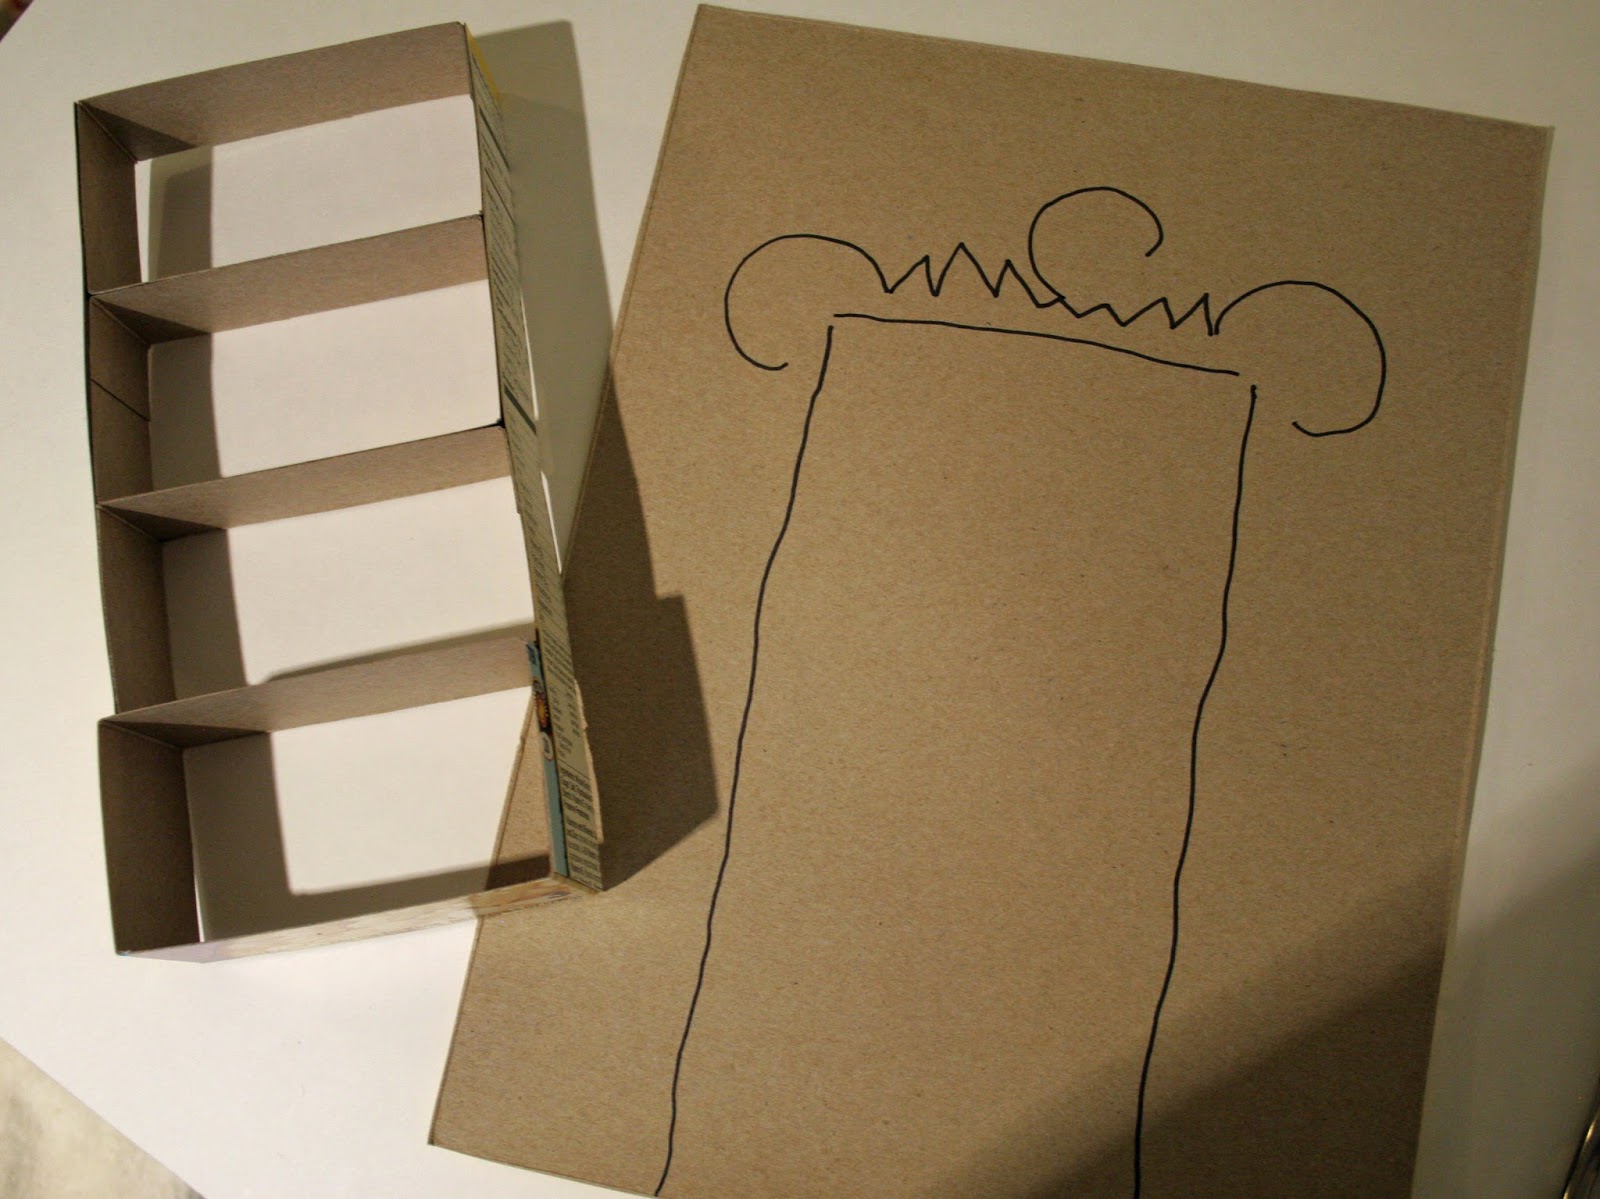
Now that the glue is dry, it will look something like this.
Cut 2 sides and glue them on one at a time. 
I let mine dry in between so they I am not fighting to keep it straight.


Next get a larger piece of cardboard box.  I used a Cheerios box panel.
Put your shelf unit on top and draw a line around the unit.

Remove the unit and create the design you want to have around the box.


Cut it out.

Glue the shelf unit to the backing board.

If you want feet like mine, make two more measured strips of cardboard.
Divide them in thirds, with a 4th section that will be used to glue
it into a triangle. Cut them out and bend on the measured lines.

Put glue on the short flap and glue it to the inside making your triangle feet.


Glue them on the base.

Let everything dry completely.


Paint with acrylic paints.  
I painted mine black, but yours can be any color you like.

Here is my set of 3.  You can see the variations.

Short shelf next to Monster High doll- she is about 10 inches tall.


I am working on the interior of the Halloween Haunt Shoppe.
This is where I am at today. 

Have some fun making something new for your dolls!
Cheers, PB


Saturday, October 18, 2014

1:6 Doll Salon

Curl Up & Dye


It is not finished, but its getting close.  This started out with my hubby Chance helping me to make my Halloween Haunt Shoppe more sturdy.  The Haunt Shoppe started as a Cheerios box.  The next group of photos will take you through the beginnings that eventually led to the second set of photos- what is to become Curl Up & Dye, a salon for 10" - 12" dolls like Monster High, Barbie, Dynamite Girls, Momoko, Blythe and a host of others.

So it started like this...
Outside

Inside

It was flopping around, I didn't like how it felt, so my dear Chance said something like: "We could build a stick frame inside..."  Which looked like this:


This is the part where I said... "This is too good for a Cheerios box."  Which led to this:


The idea was to make this photograph friendly, so it is built in 3 sections, held together with magnets. Chance also added pins that can be used as needed where the walls meet.

The photos following below show the story up until now.  There will be more in future posts.

Linoleum floor installed

Sidewalk tiles glued down, ready for grout.
Covering the linoleum to keep it grout free.


Grouted sidewalk.  Baseboards installed.

Doorway and door started.

Threshold made.

Door finished, installed.


Ceiling and building roof line.  Comes off for photos.


Lights for the lighting system.

These light boxes have tiny LCDs

Trying to figure out where to place the lights.
A second interior ceiling piece was built to hold the lights.

I took this by sticking my camera lens through the doorway.  

New light boxes installed in secondary ceiling.

Lights are on 3 different switches to vary the lighting inside like a life size store.
I can remove any of the 3 sections to shoot photos.  


Cleaning up.


More to come once the salon elements are completed.


My husband Chance is not only a wonderful companion in life whom I love with every molecule of my body and soul, he is a genius.  None of this would have worked without him.

Next post I will show you how to make these from food boxes:


Cheers, PB