This will be the first of a series of tutorials on customizing Monster High Dolls. PB has taken lots of photos, and we will be posting them here along with instructions and information you might find helpful and or interesting.
PB has a lifetime of experience in the arts, and puts all of those experiences into her custom dolls.
Part one is on removing the hair and part two, base painting of dolls.
Now, remember, if you comment on this post, you get a second entry in the June Drawing.
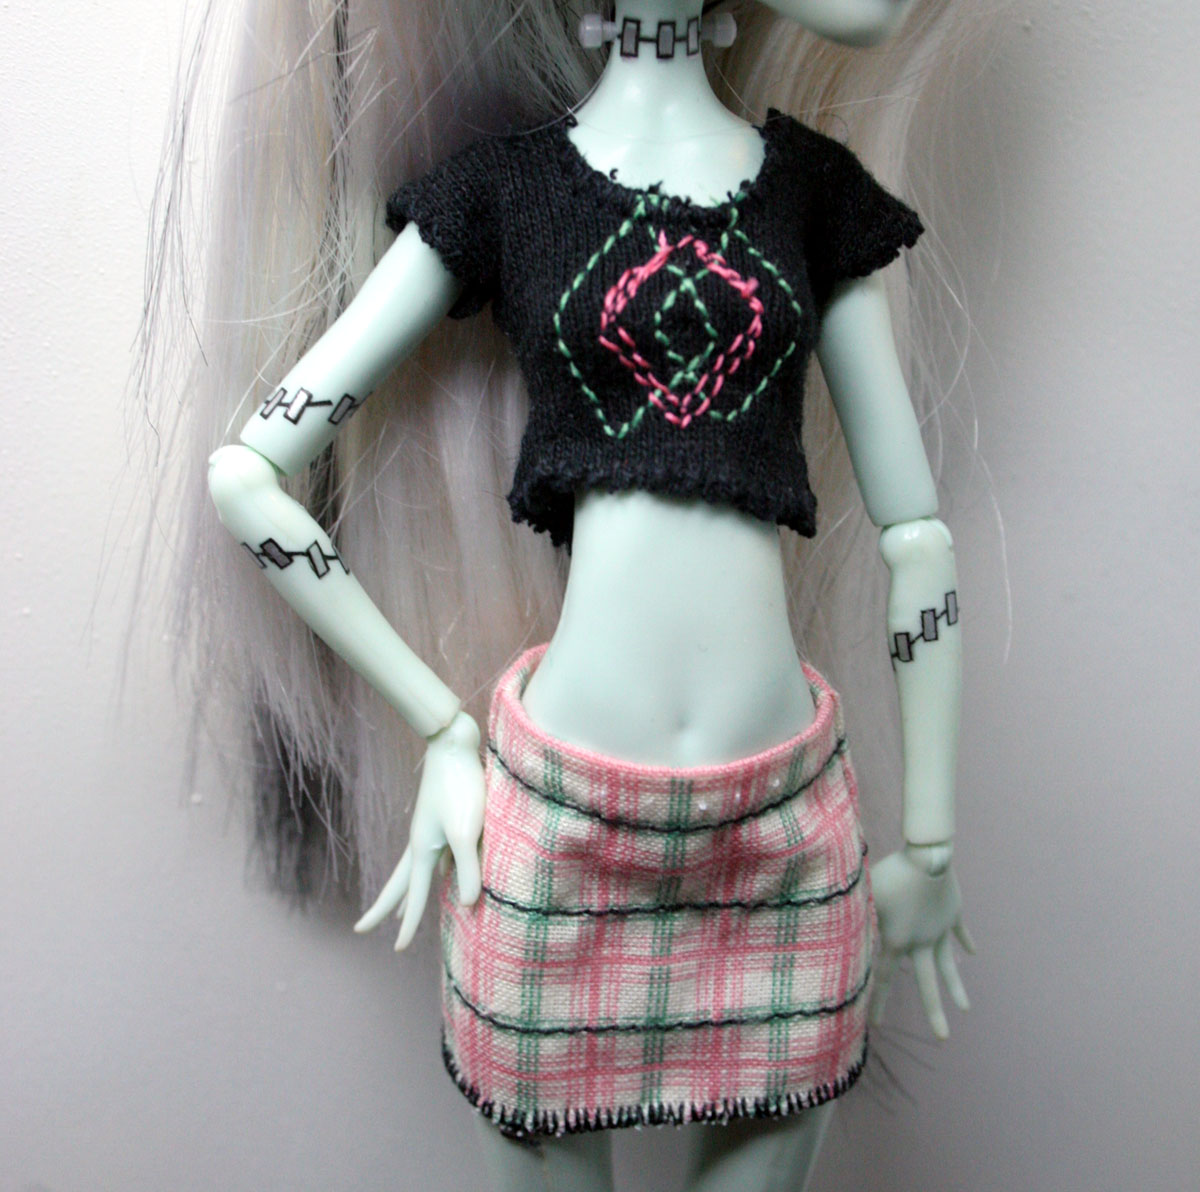
There will be more posts following this one documenting the process all the way to completion of the doll you see below.
Enjoy~ Big GZ
Doll and Tools
You will need, in addition to what you see above, a blow dryer. I use a blow dryer to heat the plastic around the neck to make removing the head easier. It decreases the chances that you will break the inner neck piece if you heat the plastic.
TOOLS: Manicure scissors, dental pick or large needle, needle nose pliers, grip nose pliers.
Rubber Band the hair before you cut it.
Use a dental pick or a large needle to push the hair down the holes the hair is poking through.
Use Needle Nose pliers and grip nose pliers to remove the hair from the neck hole.
There was glue inside this head- and that made it difficult to remove the hair with the needle nose pliers- I needed the grip nose style pliers to remove the hair.
Cut off hair is plastic bag, head is clean and free of hair.
I use a nail file that has a buffing side and a regular side to sand down the ridges on the legs, and any other areas that are rough or raised.
I use acetone and swabs and pads to remove the paint on the face.
Change your swabs often or you will just smear paint everywhere.
I use the pointy end to get into small spaces.
Because I am going to spray paint this body, I have wiped it down with acetone- quickly and lightly. Acetone will MELT this plastic. Use caution! If you are afraid of melting the body, wash it with soap and water, and let it dry overnight. You have to remove the mold release that is on the plastic- or the paint will not stick properly.
Now, here is my big secret- I use automotive Interior spray paint for fabric and vinyl. It will stick and cure on both the head and the body. I am painting this doll and her head white. The one drawback to this paint- it comes in limited colors.
I use cardboard boxes to paint in- keeps the overspray to a minimum, and I can take everything inside after I have painted it without touching it. Vinyl paint dries fairly quickly. Make sure you shake that can well.
I don't want her to be this pink- so a second coat is due- both for the head and body.
Jen asked about how well the paint sticks... it sticks well, providing you have removed any dirt, oil from your hands and the mold release agent. If you have not done so, this happens. It flaked as soon as I touched it. I missed taking off some of the mold release.
I will re-paint this - but the first step is to see how far I missed with the removal of the release agent. I rubbed it with my fingers. Larger area now.
Next step- I wiped it with acetone. The area is now ready for re-painting.
Next Post:
Making a Feather Wig for your dolls!