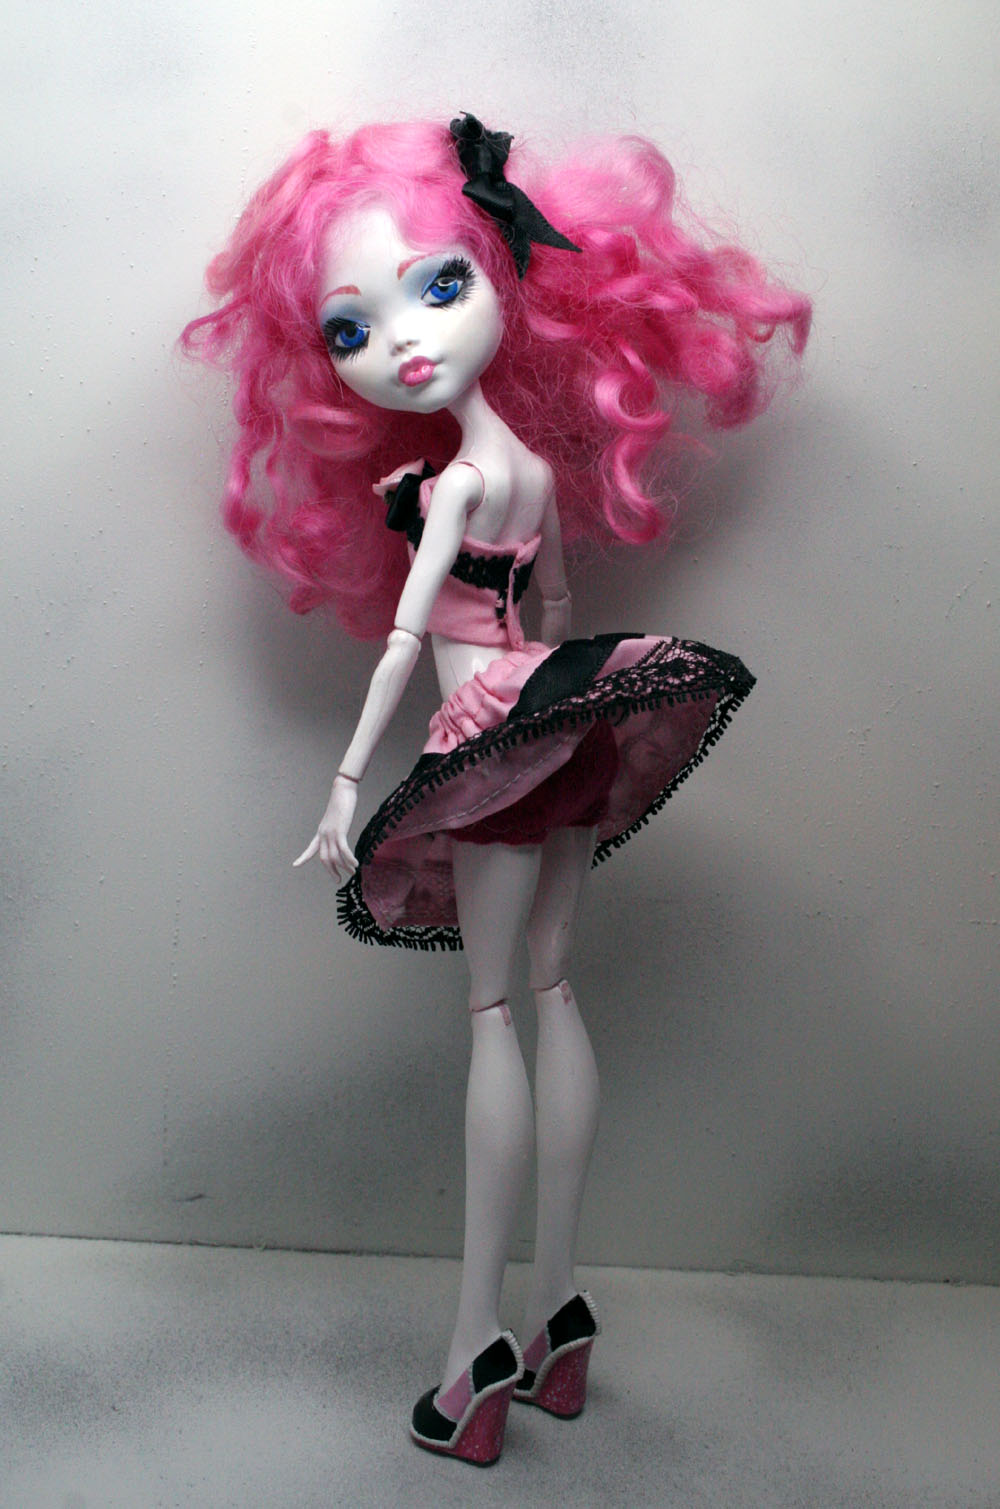
Tuesday, July 17, 2012

Polly and Esther

I promise we will get back to Draken.  Soon!  But wanted to share the new critters that arrived Special Delivery this week and are available in the shop.  Meet Polly and Esther, Cotton's cousins:

They are conjoined bunny twins.
Frankie just adores them.

They have their own masks.

Their arms and legs move.  Though Polly has a bad habit of pointing at people.  And saying things that don't make much sense at times, like, "In da house!" for no particular reason.  Esther is more thoughtful and quiet.  We love both of them.


Monday, July 9, 2012

July Prize

Good things Come in Small Packages...  Bitty Bat is no exception!


Mr. Bitty Bat is the July Prize!

You don't have to be a Monster High fan to appreciate this guy- he will steal your heart.  Well, he is hoping too anyway.  Frankie is just holding Bitty to give you an idea of his size- he is one small bat.

Bitty Bat has been made by hand from my own pattern, completely by hand.

Same rules as before, make a comment on the posts here in July, get an entry for the drawing :) 

Thursday, July 5, 2012

Custom Modding a Monster High Doll

Modding Your Monster High Doll 

Part One

Over the years I have done all kinds of things to all kinds of dolls.  Some I have simply restored, while others I have changed dramatically.  Monster High dolls kind of beg to be played with in the modification department.  I have seen all kinds of mods done on these dolls.

I am going to take you step by step through the modding of one Monster High doll.  She is actually a rescue- and not from someone else hands- but my very own.  She started out life as a fairy- and I simply did not like how she was turning out.  So I ripped out her wings, took off her head and started over.

Meet Draken.

We begin here.

Tell me please, what self respecting dragon would walk around without horns?
Okay, that is just my view- but I have been drawing and making dragons for a very long time. 
I have some old vintage horn beads from the 1950's- but if I didn't, it would not keep me from making her some nice horns.  Don't have beads?  Make them with wire and Magic Sculpt.


This is Magic Sculpt.  It is a 2 part system.  You mix equal parts together and you can work with it a long time- up to an hour- and then set it aside for 4 hours to harden.  No oven needed- which is great in the summer, right?
My hands tend to get pretty raw with everything I like to do- so I wear latex gloves to mix this.  You don't have to- it is safe to mix with your bare hands.  One thing to remember: when you remove the amounts for  mixing- use different tools- I use 2 plastic knives or Popsicle sticks.  You do not want any part of one getting into the container of the other- or you will have 2 containers with hard unusable sculpting material.

Magic Sculpt can be sanded, drilled and painted.  It is very versatile.  It is used by those folks in Hollywood to make some pretty cool stuff.  I buy mine from morezmore on ebay- but there are other sellers- Google Magic Sculpt.

The 2 parts are mixed and ready.  The horns and head are ready...


Half of what I have mixed I make into balls and put on the ends of the horns.
I put them on the head one at a time- and then add what is left to be sure they are stuck well to the head.


Draken's head is set aside on a plastic lid to finish curing.  She is on the lid in case I need to move her.

Here are my own dragons- they are one of a kinds- made from polymer clay over wire armatures.

This is Gazer.  She has wings made from thin wire and treated paper- so I can move them gently into other poses.  Gazer loves her treasure.  She has 8 years worth of offerings in her shell.


This is Sere.  No matter where you are in the room, he is looking at you.  He loves his crystal ball and is always up to something.  His wings are made from wire and tissue paper treated with acrylic sealer.  They are delicate- mostly because he is so small.  Sere is only 3 inches tall- including his wings.


The crystal ball and stand are separate- but he won't pose for the camera without them.  They are his treasure- though he has been known to take things from Gazer's stash when she is not looking. He has an affinity for marbles... so I keep extras in the cabinet.


Dragons come in all shapes and sizes.  They are my favorite monsters.
~PB Ray


UPDATE:

I received a lot of questions about Magic Sculpt, possible substitutes and where to buy things. 
So I will share everything I know here :)

Magic Sculpt is a two part epoxy that is very slow to cure.  It dries very hard.  Since I often like to drill things I have made, I tend to use Magic Sculpt.

I buy mine on ebay from morezmore.  You can buy very small quantities from her to find out if you like using it.  http://members.ebay.com/ws/eBayISAPI.dll?ViewUserPage&userid=morezmore  She does wonderful sculptures- and has her own blog with lots of information.

Here is the Magic Sculpt Distributor page: http://www.magicsculp.com/ordering.htm  There are some sellers in places like Germany- and Australia I think- so if you don't live in the USA, you might find a supplier on this list.

You can also use air dry clays- and the one I prefer for hardness and the ability to sand/drill is LaDoll.  You can buy air dry clays in your hobby or craft stores.  If you go to Michael's, look in the section where they have Sculpy.  PLEASE NOTE:  Air dry clays dry out fast once the package is open- be sure you store the clay properly.  I triple plastic wrap mine before it goes into a sealed plastic bag.  (I live in the desert- 4% humidityy is the norm here.)

Using Magic Sculpt:

1.  Make sure you have as close to equal amounts to mix together for the best results.  It does not have to be exact- but should be close to a 50/50 mix.

2.  After you have kneaded it and mixed it together, it gets sticky.  You can set it aside for a few minutes to cool and lose some of the stickiness, or you can do what I do... have some clean water handy.  Magic Sculpt can be smoothed with water.

3.  Avoid the human instinct to mess with your creation before the cure time is up.  You could ruin what you have made.  Set it aside and do something else. It takes 4 hours for the epoxy to harden- give it the 4 hours.


Wednesday, July 4, 2012

Tuesday, July 3, 2012

July Is Monster Mash Up Month


We all have our Monster Side. 
That said, not all monsters are scary.  There is a wide range of monster personalities.  
Some of us may be timid Monsters or flaming bite you in the behind Monsters.  This month, along with all of the other Monster High modding and such, we will be including videos, interviews, a little history and whatever other monster stuff we fall into and enjoy.  If you have anything you would like to see here, please write to PB, so she can have a look and include it. ( pbvnachance@hotmail.com )

Welcome to a month of Monster Mash Ups.

~Big GZ


Things To See

http://www.youtube.com/watch?v=Aglal3FL27U

Frankenweenie Exhibition


The original Frankenweenie:

http://www.youtube.com/watch?v=GevFuLnpQ3E&feature=related


Don't forget, make a comment, get an entry for the July Drawing.


Sunday, July 1, 2012

Drawing Winner !

We had our drawing this morning for the Monster High Doll Jeans- and the winner is...


Hmm, we need a close up...
 
 
REECE!  The Winner is Reece !

Okay Reece, you have 7 days to send PB your name, address and choice of girl jeans or boy jeans. 
You need to send your information to:  pbvanchance@hotmail.com

We will be continuing with monthly drawings.  Same rules as before, and the prize for July will be announced in a week. 
Keep up your comments!  PB keeps track of every one of them and makes entry slips for every one of them.

Congratulations Reece!  ~Big GZ

Someone New


Meet Sterling


Daughter of the Silver Surfer


She loves surfing and the whole beach scene.


She has Glow in the Dark Eyes with Glitter...and some cosmic dust that glows in her hair.


Dolly Dolly Fashions is having a one week sale.  Many outfits have been marked down 50%.  Stop by this week and pick up a bargain.
Mention "mymonstercrush" in your order and receive a free gift.


Sneek Peek... for next week:


Modding your dolls...eek!


Saturday, June 30, 2012

Candy Finished!


After Candy was all painted, she sat patiently waiting in her borrowed pink robe waiting for some clothes.

Just to be sure I got it right, she showed me her favorite color....

That is a PINK pencil she is holding.


Monster High Kawaii


Good Enough To Eat !


Test Shot 1


Carried Away

Photo shoots take some time.  There are lots of test shots...like ALL of the ones you just looked at.

When I finally get some I really like, I will have taken close to 100 photos.


Today is the last day to make a comment on a post and get an entry in the drawing for 1 pair of Dolly Dolly Fashions Monster High Boy or Girl Jeans (your choice).

The hat is full again!


Good Luck Everybody!

Friday, June 22, 2012

Custom Monster High Doll Face Painting

Part 2

Custom painting of Monster High Doll Head


We started with Candy and will continue until she is complete.  If you have been reading the tutorials, and you read the tip section at the end of the last face painting session, you might remember something I wrote about there was not so big a mess you could make, that it could not be repaired.

Last Monday, while preparing something in the kitchen, I managed to cut my thumb and thus put myself out of the painting game for a bit- because it hurt to hold the tiny brushes.  Fast forward to Thursday.  On Thursday I set everything up to finish painting Candy and to document that for the tutorials. 
 I was and am wearing a bandage on my thumb.

My thumb bandage got some blue/black paint on it, which transferred to Candy's nice white face.  I should have taken a photo, but I was really upset with myself and it did not cross my mind. 

I removed the blue/black paint with alcohol. So, her face is looking not so nice.  The sealer gets gummy and made lines in her face.
I will have to go in and repair my mess.  Since I had the paint mixed for her eyelashes, I continued with her eyes.  When they are done, I will repair her face, and take photos of that as well, so you can see what was done. This post will include that repair.

So, lets begin with the eyes.


I mixed black, ultramarine blue and some medium.  I started with a watercolor wash of the lower lashes- they look gray because there is very little paint in my brush- there is a lot of medium.

Next I took more paint and painted the upper lash line.  I used more paint, which makes it look black.  I never use straight black on anything.  I always add a little blue, or purple or brown- otherwise, the black looks too flat.   It may appear to be just black- but it has more life with the other color mixed in.


Using my 10/0 short liner brush I started to add the upper lashes.  The first set were gray, then I went darker and darker.  I lowered the lid line a bit to adjust her slightly sultry look.  My intention for Candy's eyes is to have them be a bit over-the-top.  This means ridiculous lashes.  I want her eyes to call to you. 
When the paint is dry, I will apply another coat of the Sakura Crystal on the eyeball part.  When that is dry, I will start on her face - and repair the damage.


First step to clean- Alcohol and swabs.  The sealer will get gummy, so I will need to go slowly and use lots of swabs.  This requires some patience.


The blushing is coming off.  I will start working the sharp end of the swabs up close to the lash line.


Eventually all the blush will be gone and some of the lashes too.


Her face is wet with the alcohol and it is softening up the sealer.  She is close to being finished with the cleaning.


I am continuing to clean around the lips and the lower lashes.

All clean.
Now I will let her rest- to be sure the alcohol and any remaining sealer is dry before I do the re-paint.

In order to re-apply the blush to her cheeks I need a thin coat of fresh paint.  The cleaning has left the surface too smooth to get the result I want to have with the pastels.  Her lower lashes have been removed back to the original blush line.


White acrylic paint and a cosmetic sponge wedge.  Dip your sponge in clean water and then squeeze it - this will leave just a little water behind, making your painting smoother.


Pick up some paint in the end of your sponge and dab it on your palette until it looks like this. 


Move quickly in little stabbing motions over the areas you want covered.  The paint layer needs to be very thin.

This works for painting your doll as well.  You will need to use many thin coats to get the same effect.  It works really well if you do it this way.


Candy is now re-painted.  None of the damage is present, and I have a clean surface to re-apply her blush.  I will use the same technique as shown before in a previous tutorial on June 13, 2012, using pastels.


I have given her a new blush with the pastels, and added some more color to her lips.


I have started putting in the lower lashes with the light gray made from the black/blue/medium mixture.


Now I am adding more dark strokes pulling from dark paint left under the eye with my liner brush.


After darkening the lower lashes, I started on the top lashes.  I build them like real lashes- even though it looks like it is solid, it is not. 


The contrast of the light and the dark make her face look more dramatic.


Before adding any more detail, I have put another coat of Sakura Crystal on the eyes and lips.  I put a coat of flat acrylic sealer on the lashes.


In order to build more perspective depth in her lashes, I put in some medium gray lashes on top of the black.


Then I added the black/blue mix on top of the gray.  Once this is dry, I will add more flat sealer on the lashes.  The difference is more noticeable in person.  This is why you need to judge for yourself as you go along.  Candy is now looking right at me- her personality is shining through. She would like to know where those clothes are...?!  Next Up.

Don't forget to leave your comments or questions- for which you will get another entry in the June Drawing :)